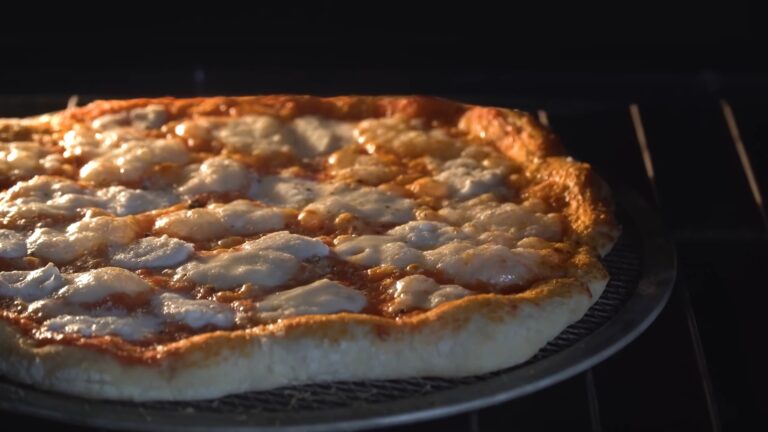
Today, I’m gonna tell you the best way to heat up leftover pizza so it’s crispy and delicious again!
Has this ever happened to you – you get pizza one night but can’t really eat it all? So you save the rest for later, but when you microwave it the next day the crust is all soggy and gross, right? Well, I’m gonna explain how to avoid that and make your pizza taste almost as fresh using something called an air fryer.
Say goodbye to chewing rubbery pizza crust and hello to quick reheated slices that are crispy on the outside and hot all the way through. These will be easy steps, so pay attention because this is a real game-changer!
Step-by-Step Guide
Preparing Your Air Fryer
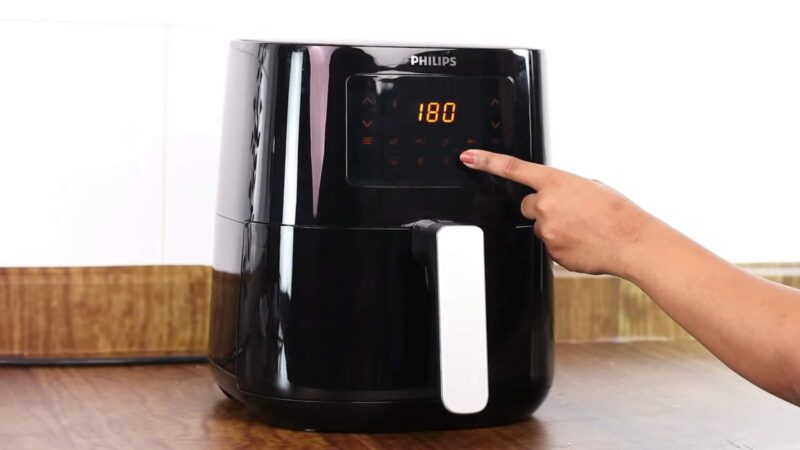
First things first – You gotta preheat that air fryer. Turn it on and let it heat up for a couple of minutes before popping your pizza in.
This is super important cause it makes sure the whole inside gets nice and toasty all over. You want your pizza to heat up all even-like, right? That means the crust stays soft and chewy while the cheese melts just right, whether you’re using mozzarella, cheddar, or a blend of different cheeses.
It’s just like turning the oven on to preheat. Gotta get it warm in there before adding the food. This simple step makes a big difference in how good everything turns out.
Arrange Pizza
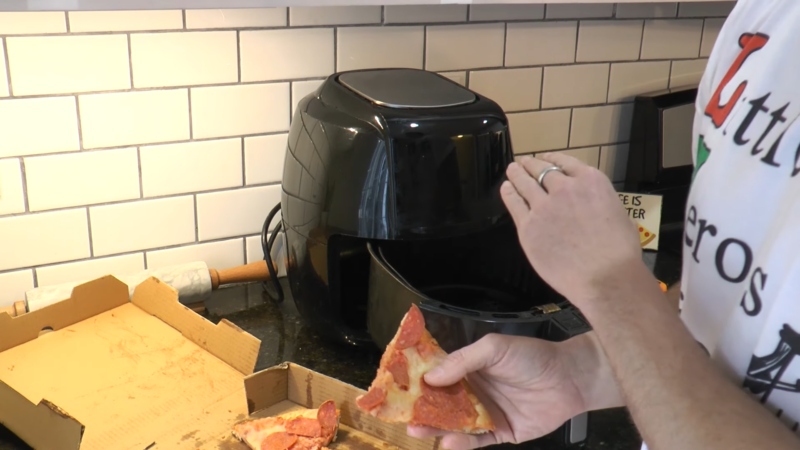
Alright, now for the fun part – adding the pizza!
Gently lay those slices in the air fryer basket so they ain’t touching each other. Make sure none of the slices overlap or are piled on top. That messy stacking will cause some spots to get too hot while others stay cold.
You want an even layer so each piece gets full heat coverage. Putting them flat in a single layer lets the hot air move all around so everything cooks perfectly. The crust will get all crispy on the edges and the toppings will heat up nice and even.
When you separate them, the hot air can flow freely, so every part of every slice gets cooked just right. Take your time arranging them.
Reheating Process
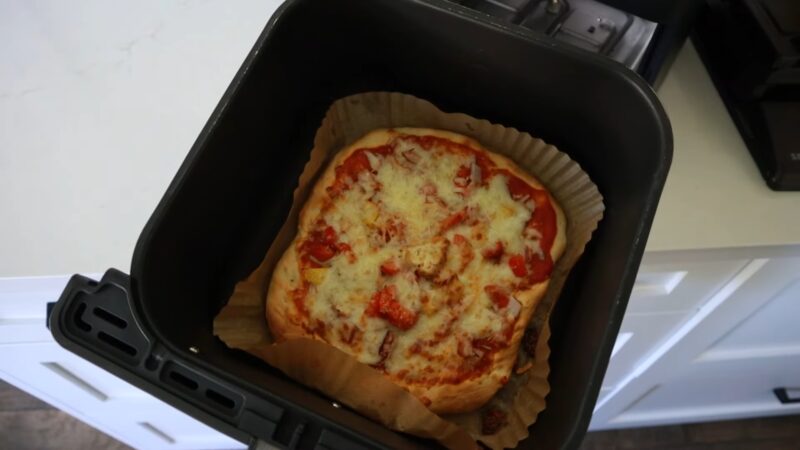
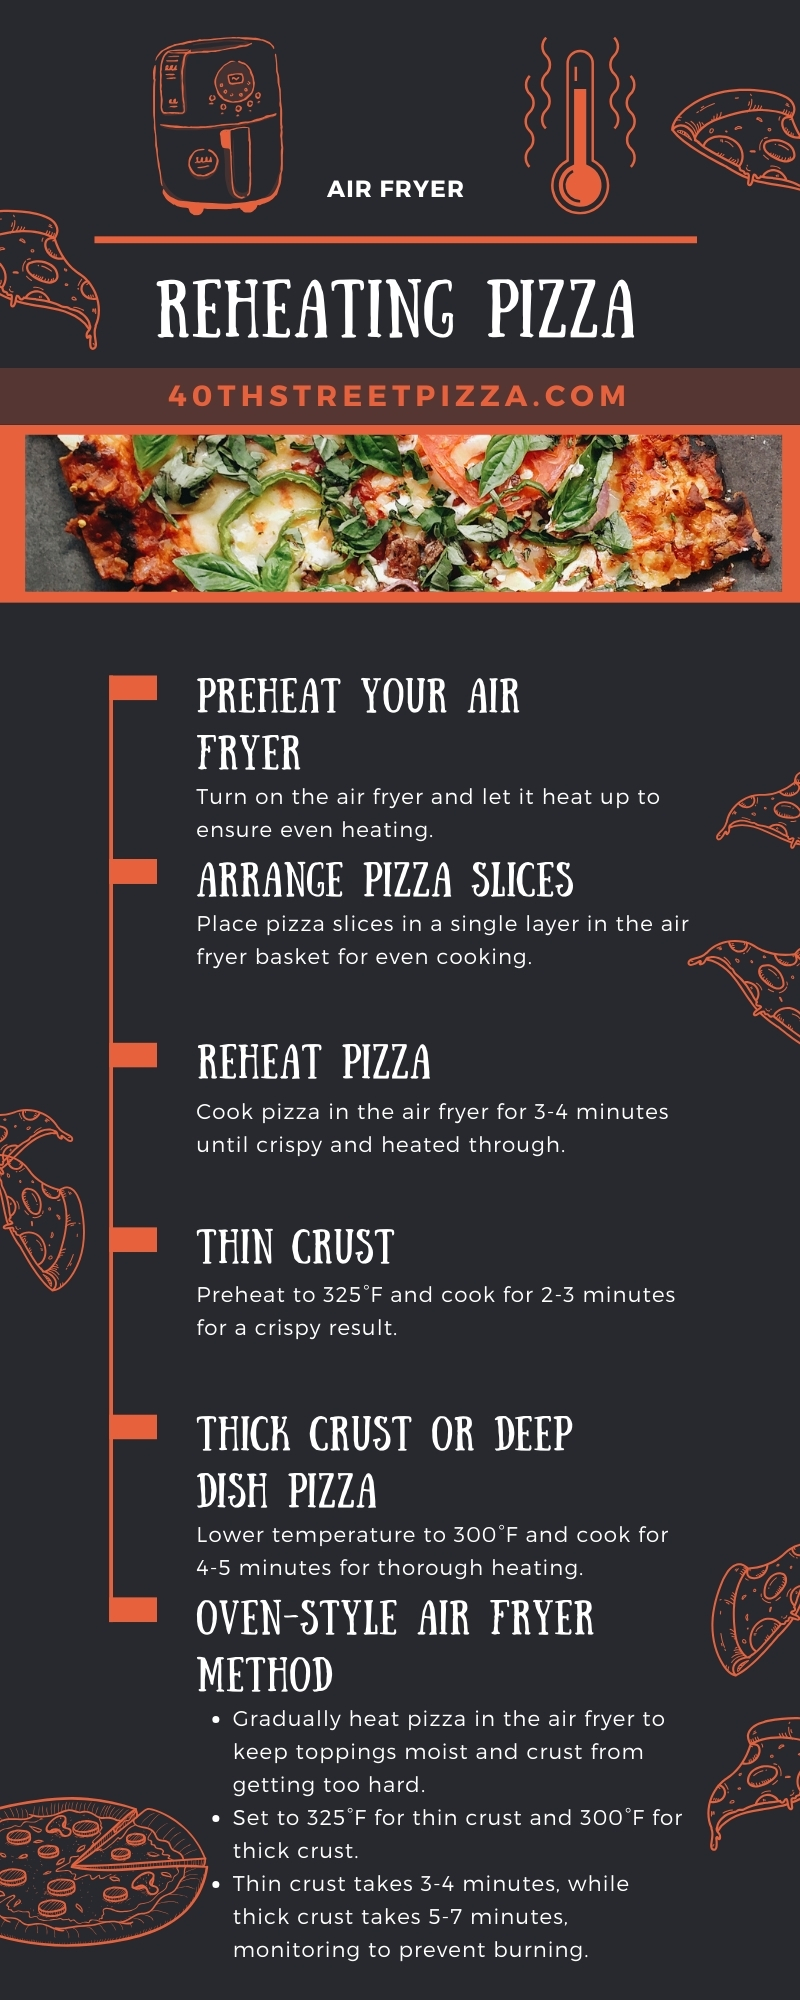
So, you’ve got your air fryer all warmed up? Sweet! Now, toss your pizza in there for about 3-4 minutes. That’s usually plenty for most pizzas. If you’ve got a thin-crust pizza, like a classic New York slice, you might wanna check it at around 2-3 minutes since it can get crispy real fast.
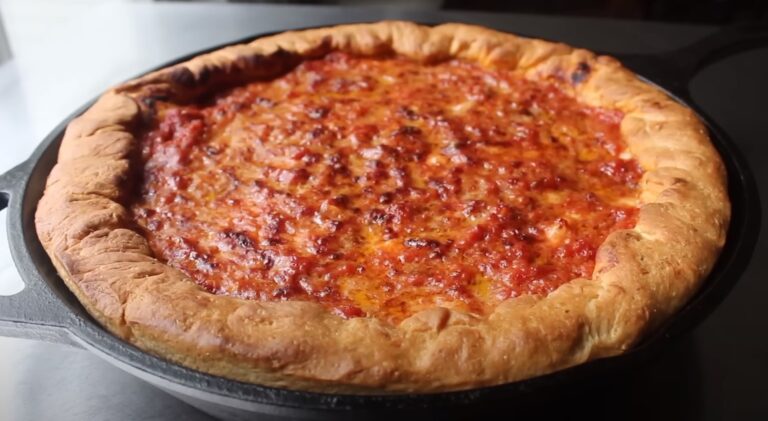
On the other hand, if you’re heating a thick, deep-dish slice, give it an extra minute or two, like 4-5 minutes, to make sure that heat gets all cozy with the dough and the cheese gets that perfect melt.
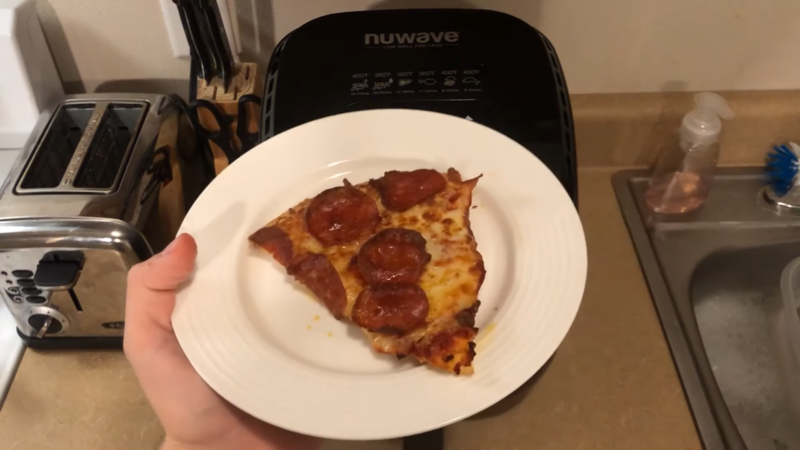
Ding! Time’s up? Cool, pop that air fryer open, and grab some tongs to get your pizza out. It should be rocking a crispy crust just like it was fresh out of the oven, with cheese that’s all gooey and toppings that are just the right amount of warm.
Special Instructions for Different Crusts
Thin Crust

- Preheat the Air Fryer: Set your air fryer to 325°F. This lower temperature is crucial for thin-crust pizza, as it prevents the crust from burning while ensuring that the toppings get adequately heated. The goal is to achieve a balance where the crust is crispy but not charred.
- Air Frying Duration: Cook the thin crust for about 2-3 minutes. Thin crusts are more delicate and can reach the desired level of crispiness really fast. Stay vigilant during this process to prevent overcooking. You might even want to check the pizza after the first minute and a half, especially if your air fryer tends to run hot.
- Monitor the Pizza: Keep a close eye on the pizza as it cooks. Thin crusts can transition from perfectly crispy to charred mess in a matter of seconds. If you notice the edges starting to darken more than you’d like, it’s time to take it out.
Thick Crust or Deep Dish Pizza
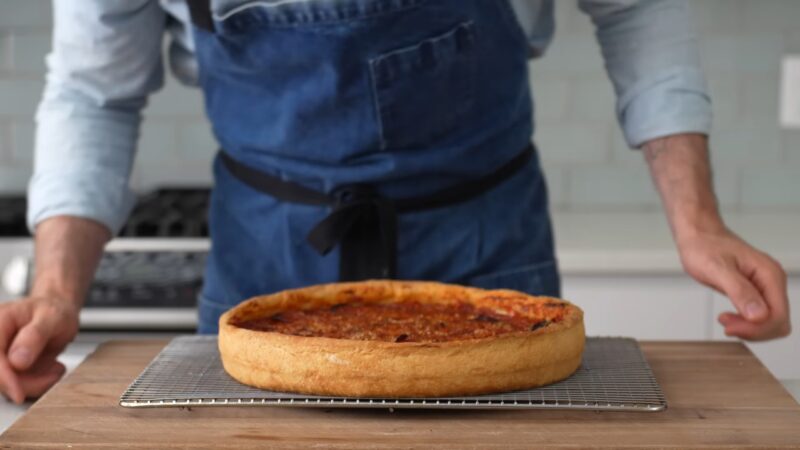
First things first – turn that temperature down to 300 degrees. Why so low? Well, the thick dough and heavy toppings need a gentle heat so everything warms up all the way through without burning.
Give it at least 4-5 minutes to start. That low heat will penetrate deep inside so every bite is hot, and that cheese is perfectly melted, not all scorchy on top.
Now these thick boys might need a little extra time compared to a thin crust pizza. So don’t be afraid to give it more minutes if it’s not hot all the way to the middle yet.
After the first 4-5 minutes, take a peek. Is the cheese all melty? Can you feel warmth clear to the center? If not, pop it back in the air fryer for 1-2 minutes more. But watch it close – we don’t want a hard crust!
Oven-Style Air Fryer Method
Preparation
Start with the air fryer turned off so the pizza can heat up slowly. This is good because both the toppings and the crust will get to the perfect temperature at the same time.
Does that make sense? By heating it up gradually, the toppings stay moist and don’t dry out. And the crust doesn’t get too hard or crunchy, either. It brings the pizza back to life without making it seem like reheated leftovers.
You’d think it was baked fresh all over again! Remember to stay patient. When selecting toppings, opt for fresh ingredients like juicy tomatoes and savory mushrooms to enhance the flavors.
Temperature
The temperature you use is really important! It all depends on what kind of crust your pizza has.
For thin crust variation, crank that air fryer up to 325 degrees. This hot temperature will make the thin crust nice and crispy fast without burning it.
The thick crust type needs a lower setting of 300 degrees, though. The thicker dough takes longer to heat through, so a lower heat ensures the outside doesn’t get too hard before the inside is ready.
Cooking and Timing
How long it takes to cook your pizza depends on the crust. The thin crust type only takes 3 to 4 minutes. That’s because the crust is thin so it gets hot and crispy fast.
But you gotta watch it close so it doesn’t get too burnt! For thick-crust pizza, it takes longer – about 5 to 7 minutes. That’s cause the dough is thicker, so it needs more time to heat all the way through.
While it’s cooking, check on it now and then. This makes sure the crust gets nice and crispy without burning. It also keeps the toppings from drying out.
Monitoring is important to get it just right – warm, melty inside, and crispy outside.
Summary
And there you have it! Reheating pizza in an air fryer is a game-changer and a super-easy way to enjoy that leftover slice. It’s quick, it’s straightforward, and most importantly, it keeps the crust crispy and the cheese melty. So next time you’re about to microwave that day-old pizza, remember the air fryer is your friend for that just-out-of-the-oven taste.
Related Posts:
- Quick and Easy Sauce Recipes - Take Your Homemade…
- How to Make Homemade Pizza With Store-Bought Dough -…
- How to Make Pizza Dough at Home - Quick & Easy
- What Methods You Should Use to Reheat Pizza Properly?
- How to Reheat Pizza in Oven? Hacks You Need to Know
- Vegetable Toppings and Their Preparation - Top 10…

